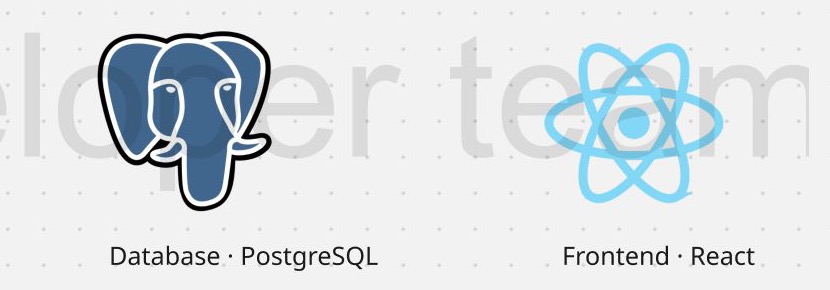
A stack map helps teammates see which tool owns which part of a project at a glance. Use Tech Stack & Design Stack Icons to put PostgreSQL and React on a board, then label the roles they play.
1. Find the icons
On a Miro board, open Tools, Media and Integrations and choose Tech Stack & Design Stack Icons. Search for postgresql or react in the app panel. A React search can also surface related tools, so check the icon name before inserting it. The example uses the Light variant for a light board.
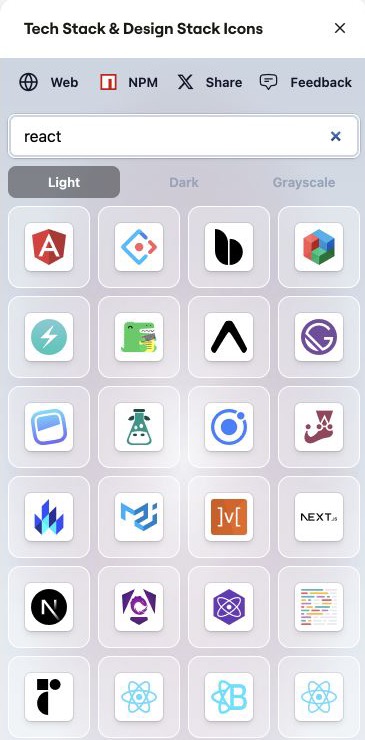
2. Add both images to the board
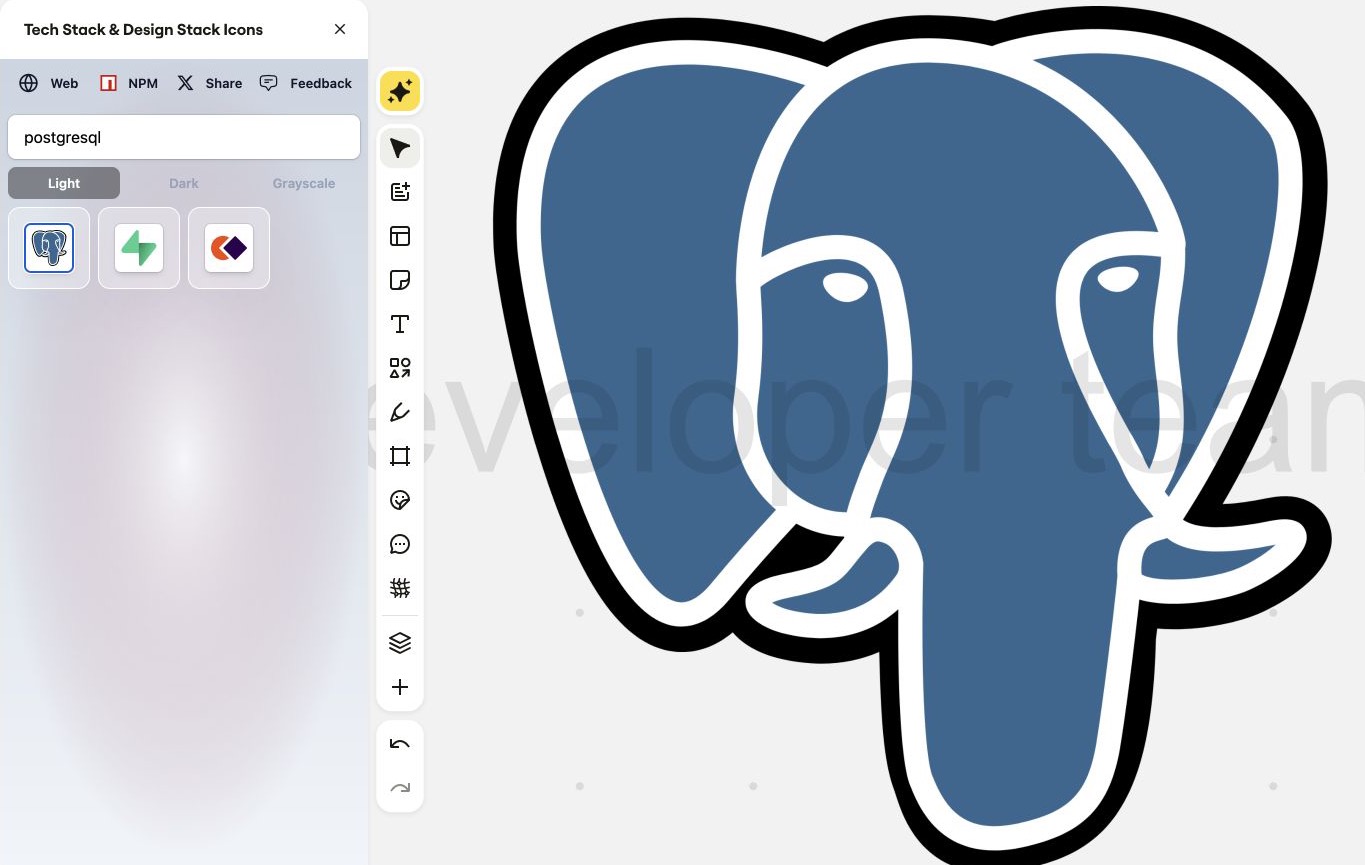
Focus the PostgreSQL icon and press Enter. In the tested workflow, Miro inserts an image and zooms to it. Search for react and repeat for the icon named react. Close the panel, then choose Zoom and navigation → Fit to screen to see both images together. Move them apart as needed.
3. Label the roles
Use Miro’s Text tool to add Database · PostgreSQL and Frontend · React below their icons. Keeping the labels separate from the images makes the map easy to rename as the project changes. Use this same pattern for a third role such as hosting or design.